
Good news!!!
The baby blanket is doonnnnneeee! hurrrrrah!!!
And as you may gather after reading this post I am a teeny bit proud of it. I love making something that you think actually, yup, I can now make something that grown ups with tasteful tastes might consider having in their houses. You might say that Nine Whole Years of crocheting should bring you to this point quite naturally, but I've always felt the stuff I make has that amateur je ne sais quoi, perhaps because I'm drawn to lots of bright colour and hippyish designs (my second big project was a free-form style waistcoat taken from a genuine 70s crochet book. It was epically mental. I was young and at uni and idealistic at the time). I mean I really love shabby chic but it doesn't come naturally to me because you have to use lots of neutrals which set off the bright bits, and as I tend to be buying wool on a bit of a budget, it always seems a bit of a waste to get a muted colour when you could get a lovely bright one! So I have made a concession to cream, but I am aware that my last few projects have been rather cream-and-colour granny square heavy. So henceforth, I am going to venture out into the exciting realms of -tasteful!- crocheted items that are not just Cream Granny Squares. It's scary but let's think of it as an adventure!

I love folding finished blankets. So satisfying.
But back to business. This blanket was actually a nice little project, especially if you're quite new to crochet. It is 49 squares of four colour rounds (each round a different colour) with a fifth cream round joined together using the join-as-you-go technique. I'm a new convert to this technique which is brilliant - it makes the final round and the joining together the same job and is simple as you like. You start off by doing a normal fifth round on the first square (three trebles and one chain-1 space around with chain-2 in the corners), then on the second one you start by doing a normal granny square round. Then in a corner, instead of doing 2 chains to make the turn, pop two cheeky single crochet stitches in the chain-2 space of the joining square, three trebles into the chain-1 space below like normal, then one single crochet in the chain-1 space above. Carry on until you reach a corner again, where another two single crochet stitches are needed, then stop joining and continue as normal. As many sides as you like can be joined this way, just keep doing single crochet stitches in the chain-1 spaces above and you're set! I like the finish you get with it - there are spaces that fit with the gappy granny square pattern rather than the solid lines produced with traditional crochet joining technique. I suppose it's a bit less secure though - a big heavy granny blanket might want the more stable solid seams, but for a little project like this one the technique is perfect. And quicker! So yay!
Sooooo ready for the final reveal?
Reeeeaaaaadddyyyyy.....
ta daaaaaaaaaah!

A cheeky baby wave even made it into the frame! Baby was being exceptionally wriggly and chatty today. Very cute and extra challenging for birds eye photos :) Also, in the interests of honesty I did steal the 'ta daaaah' thing from Lucy's Attic24 blog (it's my fave blog in the world ever, hard not to steal from something you think is totally fab)... I was trying to find my own way to announce a finished project but 'ta dah' just seems appropriate - it fits the childish pride you get at making something pretty and wanting to show everyone.

So, you may remember ages ago I asked what colour pattern I should do. Well, I had a couple of suggestions via text which unanimously agreed that colour blocking was best. So I did indeed start by laying all the squares in the colour blocking pattern... and then I had to move it all and it all got a bit confused and then I ended up connecting a whole row on the wrong end and upside down. Then I had to do a reshuffle of the remainder so I didn't end up with a block of eight bluey squares with a random yellow in the middle. The upshot is that the blanket is a wavy diagonal colour blocky pattern of sorts. Ah well. Best laid plans and all that.

Mummy bed crochet and baby bed crochet! Naaww!
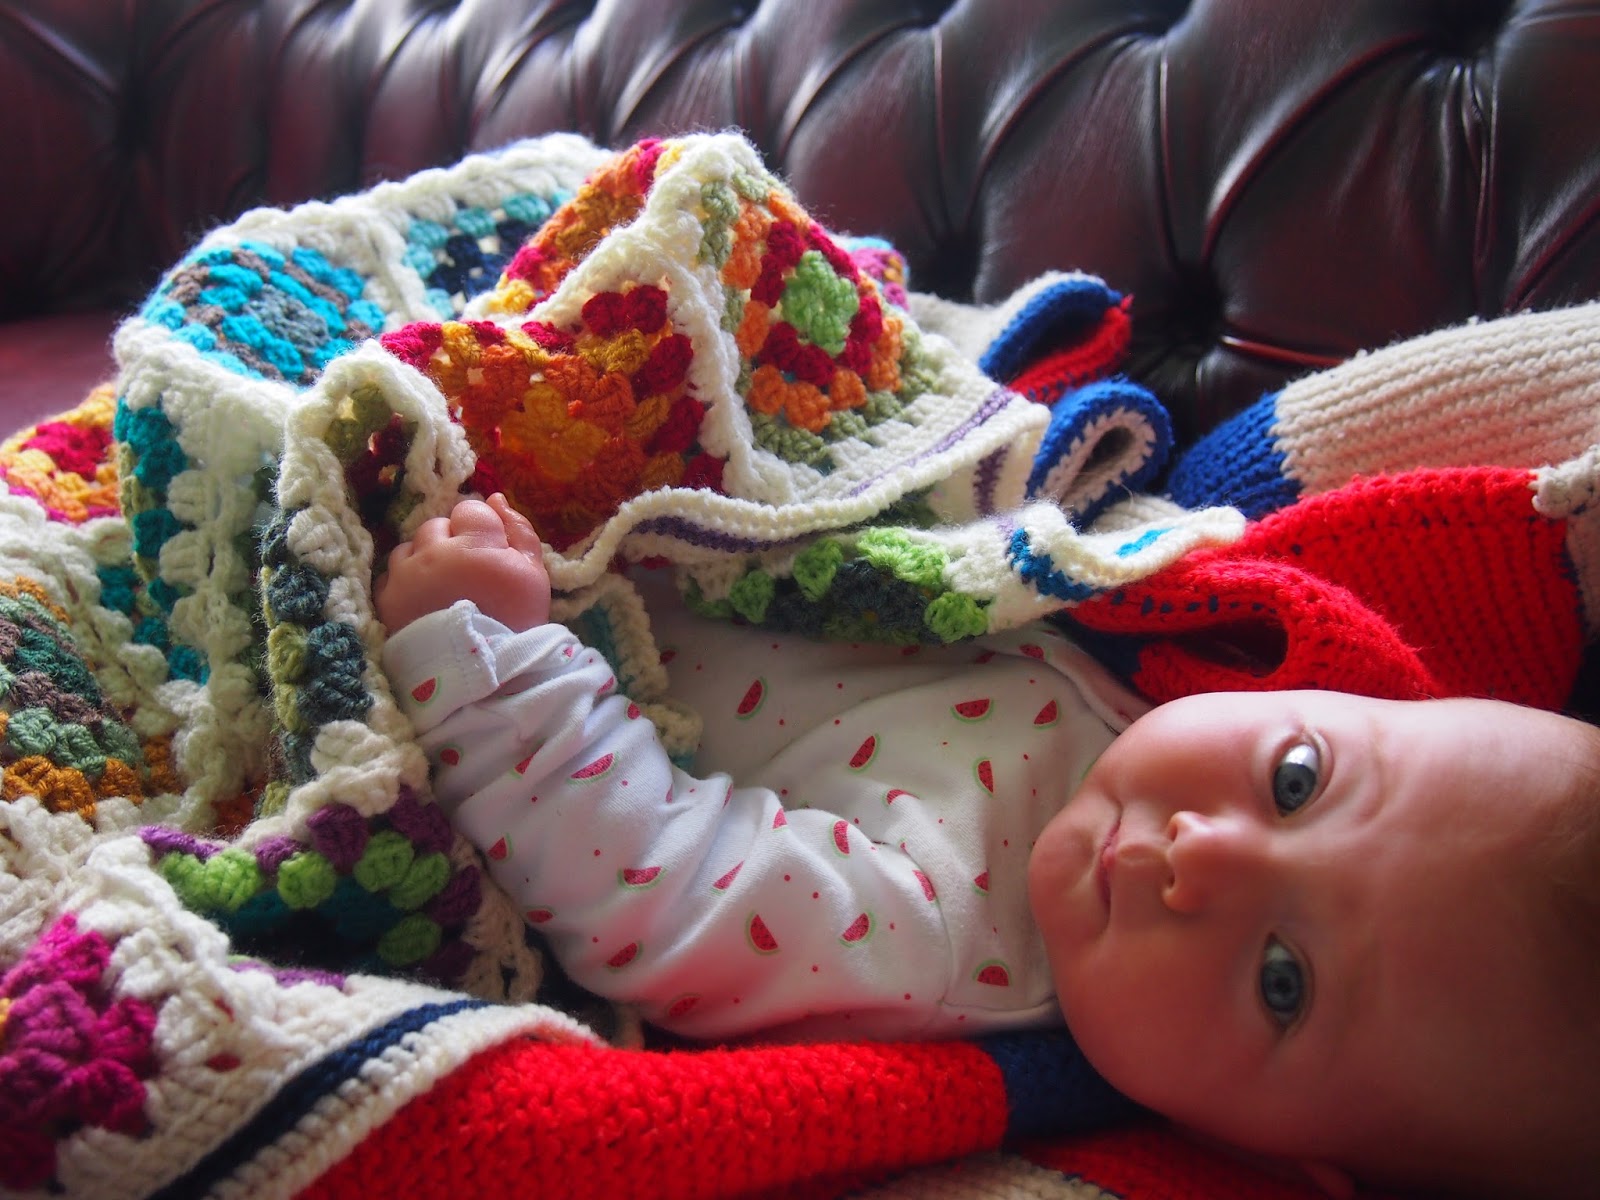
I have to confess that I did press-gang my daughter into modelling said blanket (she's a baby: it's a baby blanket, seems logical) and now I have literally NO IDEA how professional photographers ever get those stock knitting pattern pictures. It is quite literally impossible to get a sensible photo with a little person. Makes you understand why so many blankets end up artistically draped over sofas in ways that never happen in actual life (because actual life blanket usage makes for rubbish pictures, that's why). Evidence below:

At least her face is in this one - she was a bit hungry and kept pulling the blanket over her face to eat it (rude!). I have a lot of messy-blanket-in-a-moses-basket/settee pictures...

Where's the baby?! Eating the blanket from underneath, that's where! Of course.
So I tried to outsmart her by taking the picture from above, but she gave me that shame inducing 'what are you doing Mummy?' look. Then pushed the blanket off. Shame. Shame and failure.
Aha! Mummy 1: Baby 27. Apparently the trick is to swaddle them! Does swaddling at five months count as unlawful imprisonment? Baby girl just seemed to find it hilarious...

Before deciding she'd had enough of humoring me and then breaking free and trying to grab the camera...

Look artful draping! So much easier...
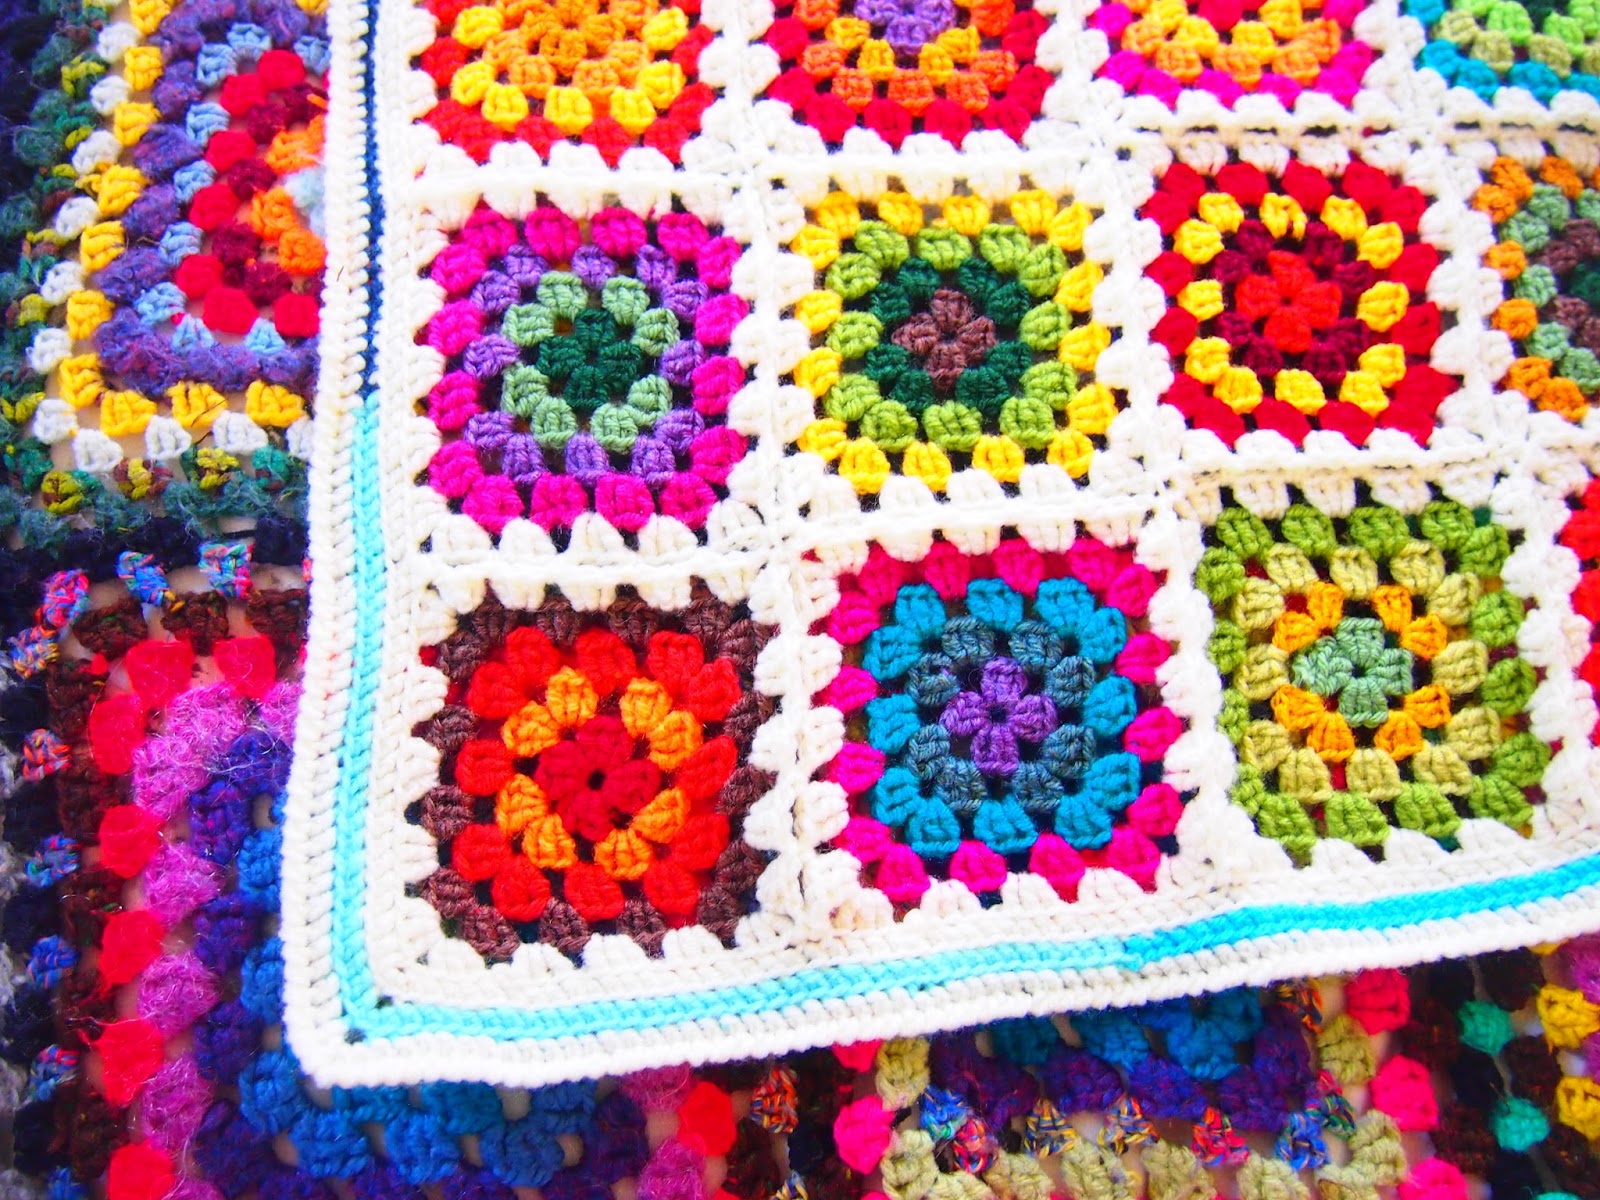
Aaah, the edging. So I find that the edge of granny squares can often look a little unfinished. I tried doing a single round of double crochet, but it didn't seem to cut it. Lovely husband then had the idea of doing a colour round with blues (blanket is for a boy after all) with another cream round. This looked nice but still Not Quite Right. Then I had a little mosey through my crochet books and hit upon the crab stitch as the finishing round. I hadn't done it before as any written explanation is totally incomprehensible (you crochet backwards! BACKWARDS! WHAAAAAAAAAAAAAAATTT!?!) but after a cheeky youtube search all became clear and it is now officially my most favourite stitch ever. It's actually very easy once you have the hang of it, and makes a pleasingly thick border with a lovely ridged texture. The crab stitch edge gives a really 'finished' feel and makes the post blanket completion ceremonial folding extra brilliant.

A section of edging - I think it worked out alright in the end.
So there you are! One finished baby blanket! Yaay!
Following a request from husband I've been knocking up some curtain ties for the nursery this evening - I'll share my progress tomorrow. Annoyingly, halfway through my long complicated idea which was taking aaagggesss he came up with a much simpler, more practical idea that would still be pretty. Stupid engineers. Pah.
This blanket is going to my lovely friend who made baby girl this adorable bunny. She had her baby recently and I wanted to make her baby something woolly in return. I love the idea of handmade gifts from family and friends telling the story of different times in your life, and I found it really touching she'd spent so much time making something for the beginning of my daughter's life. So this is some yarny love back in return :)

It's like the handicraft mafia!
Xx
No comments:
Post a Comment